In order to know what should be done to prevent cold-weather starting issues, it’s helpful to understand exactly why cold weather makes it harder to start cars. There are four reasons, three of them common to most cars and a fourth that affects older models:
Reason 1: Batteries hate the cold
Cold weather and car batteries simply don’t mix well. Every chemical battery, including the one in your car, produces less current (basically, electrical power) when it’s cold — sometimes a lot less.
Reason 2: Engine oil doesn’t like cold much either
In cold weather, engine oil becomes thicker and doesn’t flow as well, so moving the engine parts through it is harder. That means that your battery, which has been weakened by the cold, actually has to do more to get the engine moving so it can start.
Reason 3: Cold weather can cause fuel problems
If there’s any water in the fuel lines (there shouldn’t be, but it happens), sub-zero temperatures can cause that water to freeze, blocking the flow of fuel. This is most common in the fuel lines, which are thin and easily blocked by ice. A car with frozen fuel lines may turn over just fine, but it won’t run on its own.
Diesel drivers take note: diesel fuel can “gel” in cold weather, meaning it flows more slowly because of the cold, and making it harder to deliver to the engine on start-up.
Reason 4: Older cars can have carburetor issues
Cars built before the mid-1980s usually used carburetors to mix small amounts of fuel with the air in the engine. Carburetors are very delicate instruments that often don’t work well in the cold, particularly because tiny nozzles called jets get clogged with ice or because fuel didn’t evaporate well in them. This problem doesn’t affect cars that don’t have carburetors, so if yours was built in the last 20 years you don’t need to worry about this. However, drivers of older or classic cars will need to be mindful that cold weather can cause carburetor issues.
Method 1 of 4: Preventing cold-weather starting problems
The best way to deal with cold weather starting problems is to not have them in the first place, so here are some ways you can prevent them:
Step 1: Keep your car warm
If batteries and engine oil don’t like cold, then keeping them warm is the most straightforward, if not always the most practical, approach. Some potential solutions: Park in a garage. A heated garage is great, of course, but even an unheated garage will help your car stay warmer than if it were parked outside.
If you don’t have a garage, parking under or near something big can actually help. Park under a carport or tree or next to a building. The reason has to do with the physics of heating and cooling, and a car parked for the night in an open carport or under a large tree may be several degrees warmer the next morning than one parked out in the open.
Use a battery heater or engine block heater. In very cold climates it is common, and sometimes necessary, to keep a vehicle’s engine block warm overnight. This is accomplished with an engine block heater, which plugs into an electrical outlet to maintain a warm temperature, helping the oil and other fluids flow more readily (this is particularly important for diesels). If that option isn’t available, you can try a plug-in electric heater for your battery.
Step 2: Use the correct oil
Check your owner’s manual for what type of oil to use in cold conditions. Modern synthetic oils flow quite well in the cold, as long as you use the right one. You’ll need to use a multi-weight oil, designated by two numbers (such as 10W-40, which is common). The first number, with the W, is for winter; lower means it flows more easily. 5W- and even 0W- oils exist, but check your manual. It’s even more important if your car uses conventional, rather than synthetic, oil.
Step 3: Avoid fuel issues
Auto parts stores and gas stations sell dry gas for gasoline cars and fuel conditioner for diesels, each to help combat fuel-line freezing and, in the case of diesel cars, gelling. Consider using a bottle of dry gas every now and then, or a conditioner with every tank of diesel. However, note that your fuel may come with such additives straight from the pump, so check with your gas station before putting anything else in your fuel tank.
Method 2 of 4: Getting started
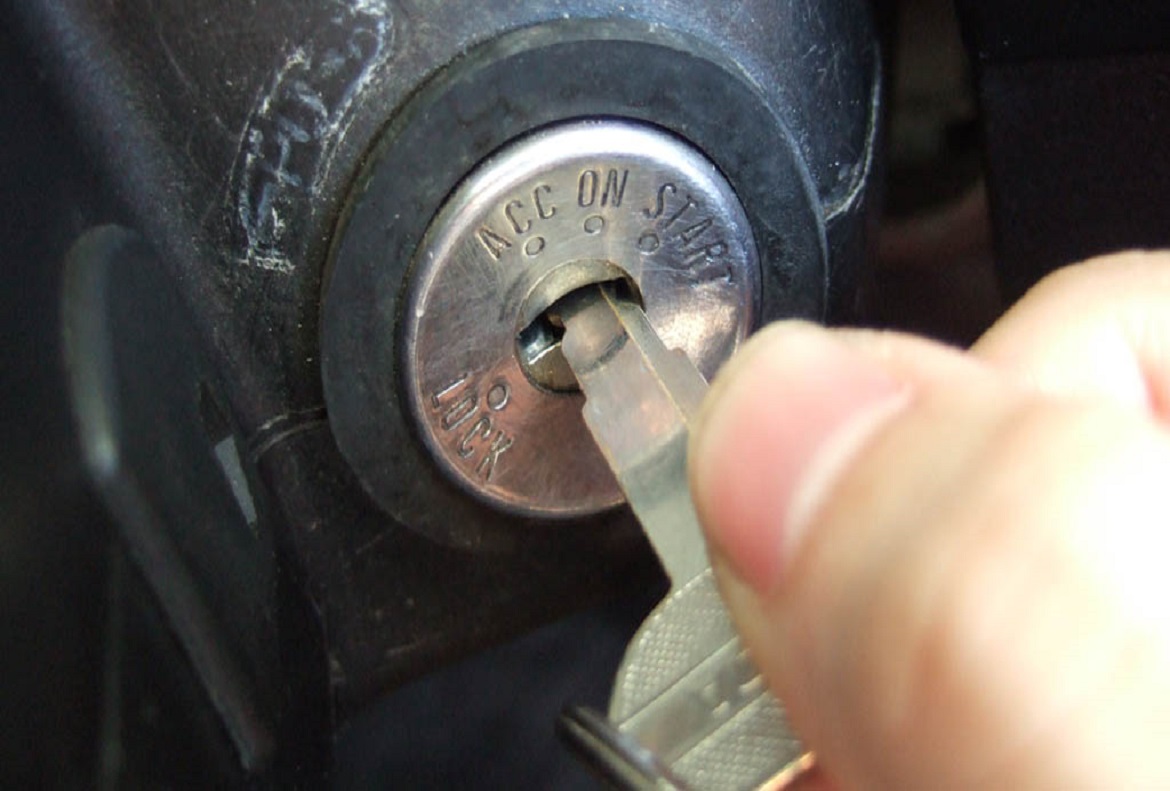
But how actually to start the car? Simply turning the key like normal may do it, but in really cold weather it’s best to be a bit more careful.
Step 1: Turn off all electrical accessories. That means headlights, heater, defroster, and so on. Your battery needs to give everything it’s got to turning the engine over, so turning off all electrical accessories lets it provide maximum amperage.
Step 2: Turn the key and let it crank for a bit. If the engine catches right away, great. If it doesn’t, crank it a few more seconds, but then stop — starter motors can easily overheat if they’re run for more than about ten seconds.
Step 3: Wait a minute or two and try again. Things may have loosened up a bit, so don’t give up on the first try. But don’t try again right away, either: Your battery may need a minute or two before it can deliver its full power again.
Step 4: If you have a carbureted car (meaning one older than 20 years), you can try starter fluid. This comes in an aerosol can and is sprayed into the air cleaner — have them show you how to use it at the auto parts store. It’s not great to depend on starter fluid, but it can work in a pinch.
Method 3 of 4: If the engine turns over slowly
If the engine cranks but sounds slower than normal, warming the battery may be the answer. Unfortunately, this usually requires removing it, so if you don’t know how to do that, skip down to the jump starting section.
Another thing to check, if you have the tools and know how, are the battery cables and clamps. Corrosion on the clamps, or cracked cables, can impede the flow of electricity, and right now you need all you can get. If you see corrosion, clean it off with a wire brush; cracked cables need to be replaced. Note that if you’ve never done this before it’s best to leave to a qualified mechanic.
Method 4 of 4: If you need a jump start
Materials Needed
- Another car that runs well
- Another driver
- Eye protection
- Set of battery cables
If the engine doesn’t turn over at all, or it turns weakly and you’ve tried everything else, you need a jump start. Here’s how to do it safely:
Step 1: Wear eye protection. Battery acid accidents are rare, but when they do happen they can be serious.
Step 2: Get good cables. Get a good (not frayed or cracked) set of battery cables.
Step 3: Park close. Position your “donor” vehicle (the one that starts and runs normally) close enough so that all cables can reach.
Step 4: Start the donor vehicle. Start the donor vehicle, and keep it running throughout the process.
Step 5: Connect the cables carefully
- The positive (red) on the car that won’t start. Connect it right to the positive battery terminal or bare metal on the clamp.
- Next, put the positive on the donor car, again on the terminal or clamp.
- The ground or negative (usually the black wire, though sometimes it’s white) on the donor car, as above.
- Finally, connect the ground wire to the dead car — but not to the battery terminal! Instead, clamp this to bare metal on the engine block, or a bare bolt attached to it. This is to prevent the battery from exploding, which is possible if the circuit isn’t grounded.
Step 6: Check connection. Get into the “dead” car and check the electrical connection by turning the key to “on” (not “start”). The dashboard lights should light up. If they don’t, move the clamps a bit to get a better connection; you can turn on the headlights to see how you’re doing with this while you’re working under the hood (bright lights mean the connection is fine).
Step 7: Run the donor car. Run the donor car for a couple minutes, with the engine running at about 2000 rpm, without doing anything else. You may need to rev the engine above idle to accomplish this.
Step 8: Start the dead car. Now, with the donor car still running at 2000 rpm (you need a second person for this), start the dead car.
Step 9: Leave dead car on. When the dead car is running smoothly, leave it on while you disconnect the cables in the reverse of the order listed above.
Step 10: Leave car on for at least 20 minutes: This is important: your battery is not charged yet! Be sure to run the car for at least 20 minutes, or 5 miles of driving (more is better), before shutting it off, or you’ll have the same problem again.
Warning: It’s important to understand that cold doesn’t just temporarily disable batteries, it can also permanently damage them, so if you’ve needed a jump start once you should get your battery’s health checked as soon as possible.